
 By
By  April 11, 2026


Microscope Clues That Separate Pellets from Dust
Deathwatch beetle frass looks like coarse, separate pellets under magnification, usually bun-shaped, rounded, or slightly flattened rather than fine floury dust.
If you place suspected frass under a hand lens or stereomicroscope, you are looking for discrete pelletised particles rather than a soft, uniform powder. The Natural History Museum describes deathwatch beetle frass as bun-shaped, while heritage guidance describes the pellets as round, large, and about the size of a small pinhead that can roll when disturbed, so you are dealing with a formed pellet with body and edge rather than vague dust Natural History Museum.
The key visual point is texture. Under magnification, deathwatch frass looks coarse, granular, and pelletised. You should see separate units rather than a continuous powder bed. That is why it pulls away from powderpost residue so quickly, and why it can also be distinguished from the smaller, grittier pellets produced by common furniture beetle English Heritage.
Frass shape is only one part of the diagnosis. In practice, you get much further by linking five clues together: frass shape, exit hole size, timber type, damp or decay context, and seasonality. Deathwatch beetle, Xestobium rufovillosum, is especially associated with damp or partially decayed hardwoods, often oak, and the adult usually leaves round holes around 2 to 3 mm across. If those clues do not line up, frass alone should not drive the diagnosis Property Care Association.
A microscope helps, but it does not overrule context. A neat pellet under magnification can still mislead you if it came from the wrong timber, from an old infestation, or from a mixed sample that includes ordinary debris RICS.
What you can see before you use magnification

You can often suspect deathwatch frass with the naked eye because the particles usually look coarser, more separate, and less dusty than ordinary bore dust.
In a real property, deathwatch frass often appears as a loose scatter beneath emergence holes, on ledges, or on surfaces below a beam or joist. It does not usually sit like a smooth, collapsed powder. Instead, it looks like tiny pellets or grains that keep their shape, especially if the surface below is clean and undisturbed.
Movement is one of the best field clues. Deathwatch frass pellets are large enough to roll when moved, which feels very different from fine flour-like dust that smears or disappears into the grain below. Rolling pellets do not confirm deathwatch beetle by themselves, but they do suggest a wood-borer that produces formed pellets rather than powder.
A simple 10x hand lens is usually your first useful step up from naked-eye inspection. At that level, you can see whether the material is genuinely pelletised, whether the particles are rounded or flattened, and whether the sample is contaminated by plaster dust, soot, paint flakes, or masonry grit.
That distinction becomes obvious once you stop treating all bore dust as the same thing.
“You can misread old dust in a roof void very easily; once you put the sample under a lens, the difference between powder and pellets usually decides the next step.” — A heritage surveyor in Sussex
You might notice this in a loft first. You shine a torch across an old oak tie beam and see pale brown grains on the insulation below. They do not look fluffy. They look separate. That is the moment to stop brushing them away as general loft dirt and start comparing frass shape, hole size, and timber condition.
If you brush the area clean, return a week later, and find the same coarse grains back on the surface, the question changes. You are no longer asking whether it is dust. You are asking what kind of frass it is, whether the holes are fresh, and whether the timber itself is telling the same story.
What changes as magnification increases

Each step up in magnification tells you something different, and most property diagnosis becomes useful well before you ever reach laboratory-grade imaging.
The practical ladder is simple. Your naked eye tells you whether the debris looks coarse or powdery. A hand lens begins to confirm pellet form. A stereomicroscope gives you the clearest routine view of particle shape and texture. Scanning electron microscopy can reveal much more detail, but for building surveys it usually goes far beyond what the decision requires National Park Service Museum Handbook.
| Inspection level | What you can usually confirm | Main limitation |
|---|---|---|
| Naked eye | Whether the debris looks coarse, pelletised, or powdery; whether it sits below obvious holes | You cannot judge particle form reliably in mixed or dirty samples |
| Hand lens | Whether the sample breaks into separate pellets or remains powder-like; whether particles look rounded or flattened | Fine detail remains limited and contamination can still confuse the sample |
| Stereomicroscope | Shape, edge, flattening, texture, consistency, and whether mixed particles are present | It still does not replace timber, moisture, and activity assessment |
| SEM | Very fine surface micro-texture and highly detailed imagery | Usually disproportionate for routine building diagnosis |
What you see with a hand lens
A hand lens helps you decide whether the sample is pelletised or powdery.
At around 10x magnification, deathwatch frass starts to show as separate rounded or slightly flattened particles instead of continuous dust. That matters because powderpost residue usually still reads as a fine powder even when magnified, whereas deathwatch frass begins to show recognisable body and edge. You are not trying to produce a laboratory identification at this point. You are making a simpler distinction: formed pellets or loose meal.
A hand lens also helps you spot contamination. In old roofs and voids, frass can be mixed with soot, plaster dust, cobweb fragments, rodent debris, and crumbly decay. If the sample is mixed, isolate a clean portion from directly below a suspected hole rather than judging the whole pile at once.
What you see with a stereomicroscope
A stereomicroscope is the most useful practical tool because it shows form, texture, and consistency without requiring specialist lab preparation.
Under low-power stereomicroscopy, deathwatch frass becomes much easier to characterise. You can see whether the particles are consistently pellet-like, whether they are rounded or flattened, and whether the sample contains fragments that belong to a different insect or to general building debris. This is where the distinction between deathwatch, furniture beetle, and powderpost becomes genuinely useful in a survey context.
A stereomicroscope also reveals consistency across the sample. If most particles share the same broad form, confidence increases. If the sample contains several visibly different particle types, you may be looking at contamination, mixed infestation, or old debris accumulated over time rather than one clean current source.
That is the point where method matters more than guesswork.
“We do not treat frass as a verdict on its own. We assess the pellet shape, hole size, timber species, moisture conditions and decay pattern before we call a deathwatch infestation active.” — Senior Surveyor, Sussex Damp Experts
At Sussex Damp Experts, we would document particle form alongside exit hole size, timber type, moisture conditions, and visible decay, because frass only makes sense when it is read as part of the wider building evidence.
Why scanning electron microscopy is rarely needed
Scanning electron microscopy is a research-grade imaging method, not a routine survey tool.
SEM can show extremely fine surface texture and produce striking images, but that level of detail is disproportionate for most property decisions. If you can already see that the sample is pelletised, if the holes are around 2 to 3 mm, and if the timber is damp-decayed oak in a historic roof or beam, you already have the core diagnostic information you need.
The real challenge is not image resolution. It is reading the frass together with timber condition, moisture history, and season of appearance.
How deathwatch frass compares with other species

Deathwatch frass becomes far more useful when you compare it directly with the other beetle residues you are likely to find in UK buildings.
The biggest gains come from side-by-side comparison. You are asking whether it looks more like a coarse rounded pellet, a gritty elongated grain, a floury powder, or a larger sausage-like particle.
| Species | Frass appearance under magnification | Exit hole diameter |
|---|---|---|
| Deathwatch beetle (Xestobium rufovillosum) | Coarse, pelletised, bun-shaped to rounded or slightly flattened-disc-like | About 2–3 mm |
| Common furniture beetle (Anobium punctatum) | Gritty frass with lemon-shaped pellets | About 1.5–2 mm |
| Powderpost beetle (Lyctus spp.) | Fine flour-like or talc-like powder, not clearly pelletised | About 1.5 mm |
| House longhorn beetle (Hylotrupes bajulus) | Coarser frass with sausage-shaped pellets | Large oval holes, around 5 x 9 mm |
The table is only the first pass. Deathwatch becomes more convincing when the pellets are coarse, the holes are larger than common furniture beetle holes, and the timber is old damp-decayed hardwood rather than sound modern softwood. Furniture beetle tends to leave smaller holes and grittier lemon-shaped pellets, while powderpost residue stays much finer and more powdery under magnification.
If you compare two piles of debris side by side under a lens, the difference can be immediate. One sample collapses into meal-like powder. The other keeps its pellet form. That does not finish the diagnosis, but it tells you that you may be looking at two different causes rather than one.
You might meet that in an older house where several generations of repair have overlapped. One rafter carries old furniture beetle holes. An adjacent oak member sits against damp masonry and sheds coarser pellets. Without comparison, both piles can look like “woodworm dust.”
A second check should always follow the table: are the holes round or oval, how large are they, what timber is affected, and is that timber visibly damp or decayed. That is where a plausible identification becomes defensible.
Why timber type and decay matter as much as frass shape
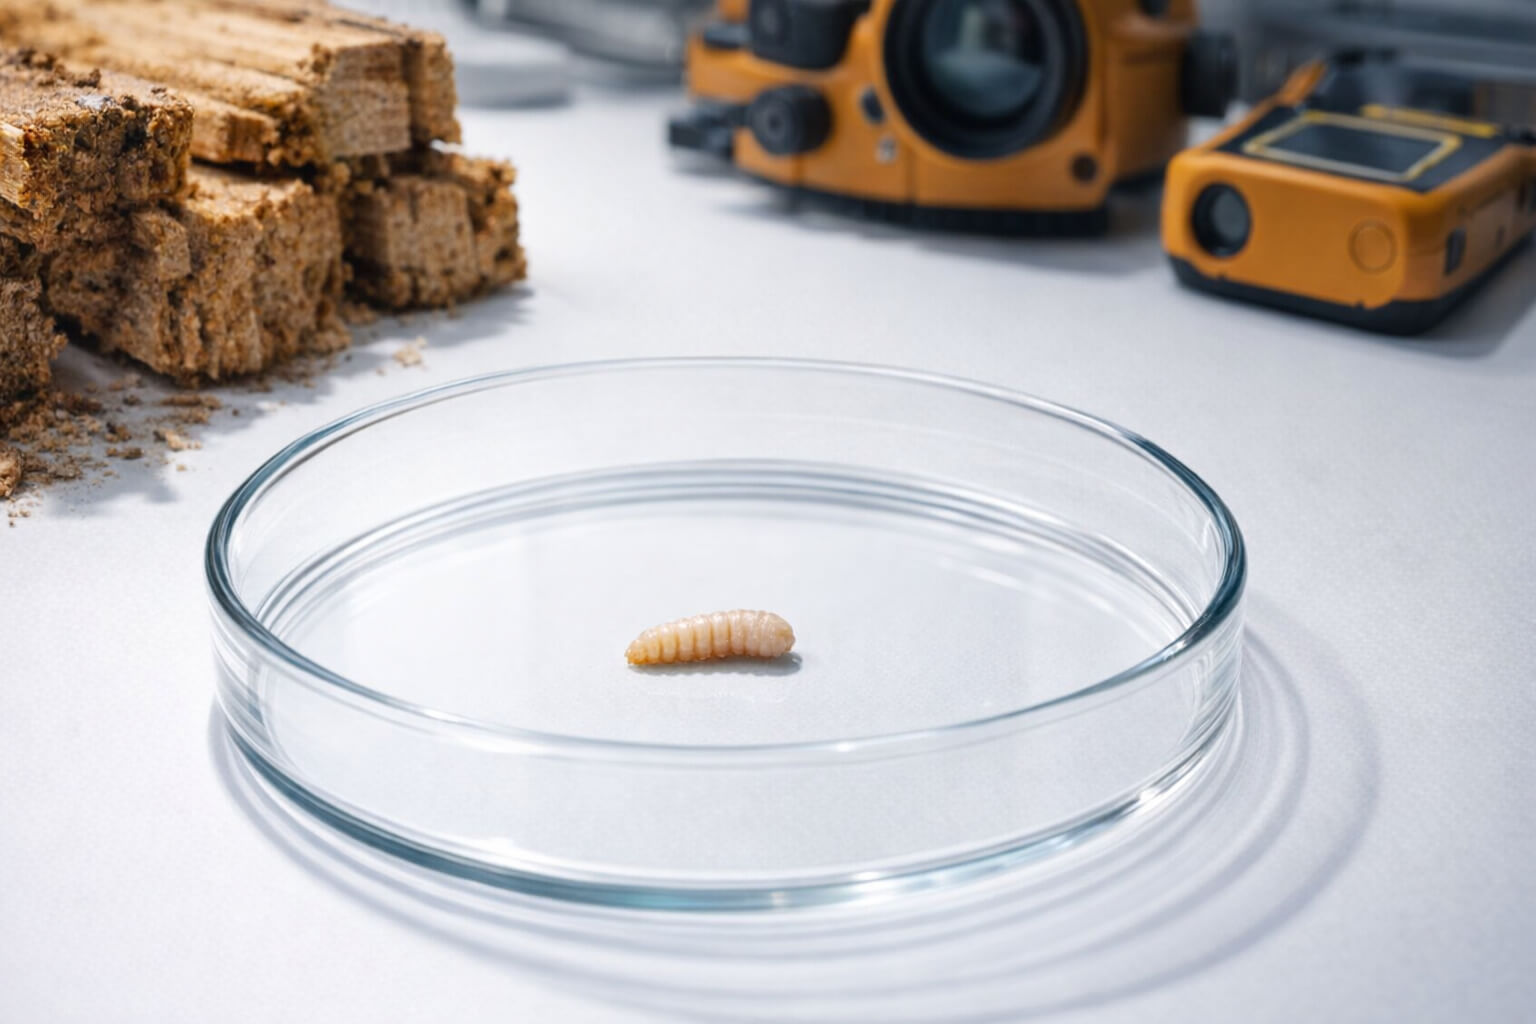
Deathwatch beetle frass matters most in the right habitat, and the right habitat is usually damp or partially decayed hardwood.
In buildings, deathwatch beetle is strongly associated with old hardwoods, especially oak, and with timber already made more suitable by decay. Timber free from decay is rarely attacked, while serious attack is associated with damp or water-damaged wood where fungal breakdown has altered the timber.
That point changes the way you interpret the frass. If you find coarse pelletised debris under a historic oak truss, a church roof member, or an old embedded beam with visible damp staining, deathwatch belongs high on your list. If you find similar-looking debris in sound softwood joinery with no decay and no damp history, pause before naming the insect. The habitat may be arguing against the frass reading.
The decay link matters for another reason. Deathwatch is not just an insect problem. It is often a moisture problem expressed through insect attack. Fungal pre-decay softens the timber, changes the food source available to larvae, and points you straight back to leaks, trapped moisture, poor ventilation, or chronically damp masonry bearings Historic England.
The relationship between damp timber and insect activity is well established in professional guidance.
“The key to controlling insect infestations is controlling moisture.” — Mike Parrett, RICS
You can often feel that context before you prove it. The beam end is cooler than the room. The masonry pocket smells stale. The timber surface looks darker, softer, or slightly fibrous around the holes. Those clues do not identify the beetle alone, but they tell you the habitat is moving in the same direction as the frass evidence.
Timber moisture also affects how strongly an infestation can develop over time.
“The drier the wood, the longer it takes the larvae to grow; the adult beetles are smaller and they lay fewer eggs.” — Brian Ridout, Ridout Associates / Building Conservation
So if the frass looks right, your next question should not be only, “What beetle is this?” It should also be, “Why is this timber suitable for it?” In practical terms, that means checking the timber species, looking for decay, and tracing the moisture source before you think about treatment.
Seasonal clues that support a frass identification
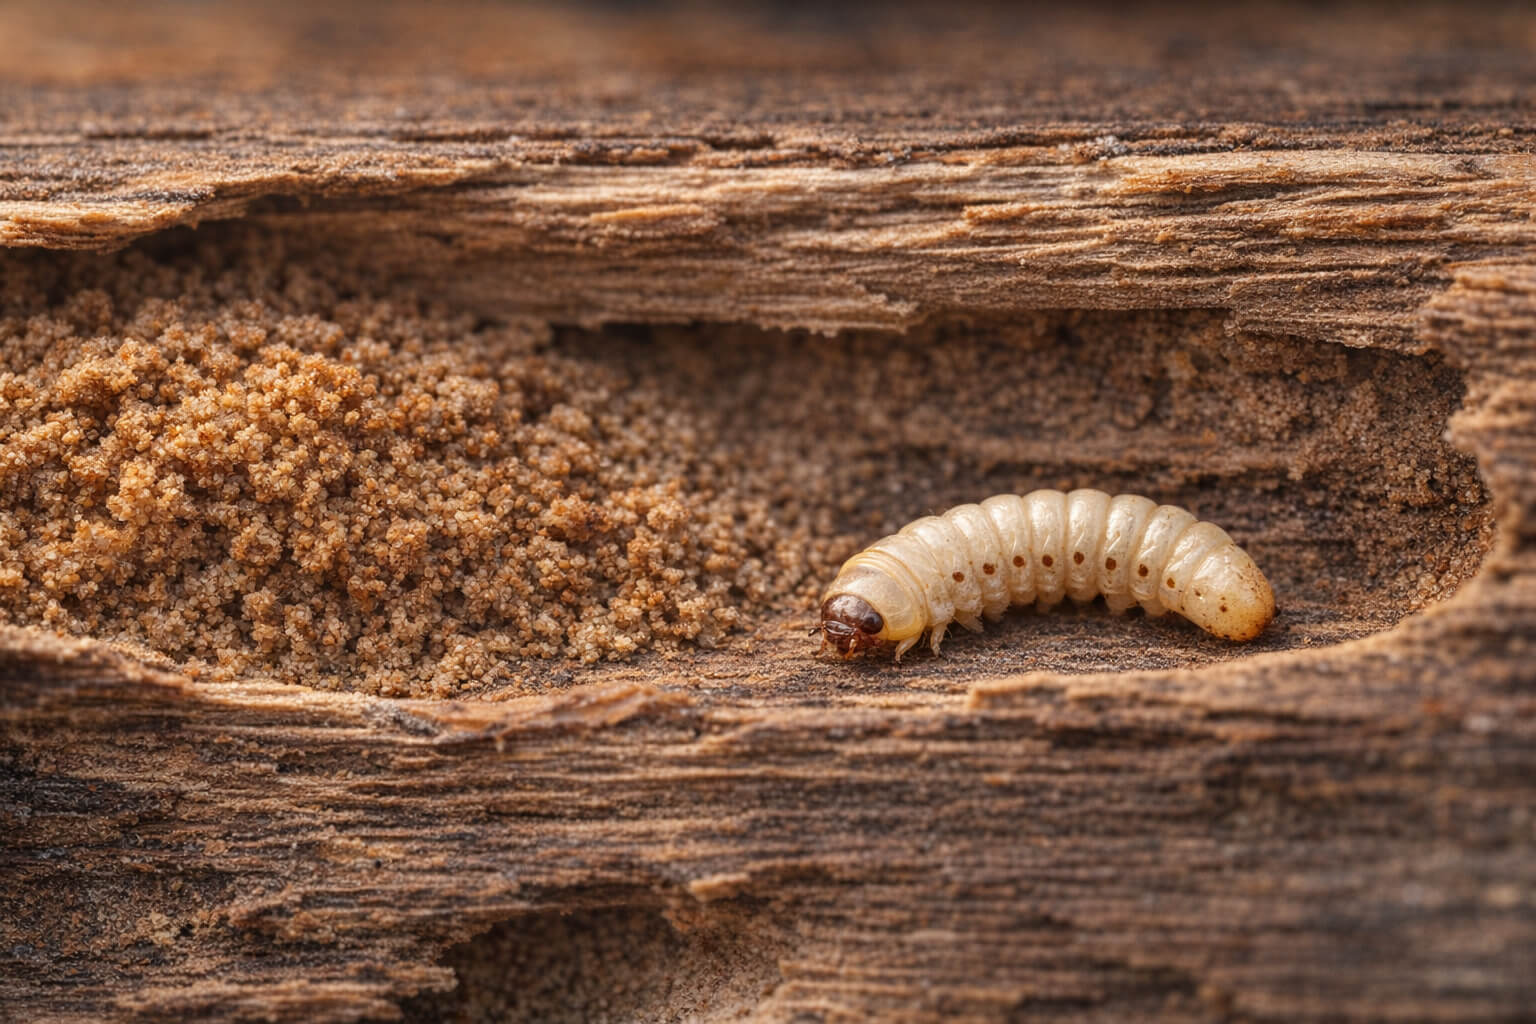
Fresh spring frass is far more useful than old debris because timing helps you tell current activity from historic residue.
Deathwatch adults generally emerge in spring to early summer, and several UK sources place the key inspection window around March to June, with April to June especially useful for seeing fresh exit holes and new deposits of frass. If similar pellets appear on a newly cleaned surface during that period, the case for active infestation becomes much stronger.
A simple field method is to clear away the existing debris, place clean paper or tissue beneath the affected area, and then recheck during the emergence season. Fresh holes and new deposits become much easier to spot against a clean background.
This is often the point where your uncertainty either sharpens or fades. You vacuum the ledge, lay clean paper below the beam, and return a few weeks later in late spring. If the paper stays clean, the case for current activity weakens. If new pellets appear beneath sharp-edged holes, your suspicion becomes much harder to ignore.
The caution is just as important. Old frass can sit in cracks, tunnels, and voids for years, then fall later when a beam dries, shrinks, or is disturbed. Winter inspections may show conditions favourable to activity without showing fresh frass at all, so presence alone is not the same thing as proof of an active colony.
What a professional survey adds beyond visual identification
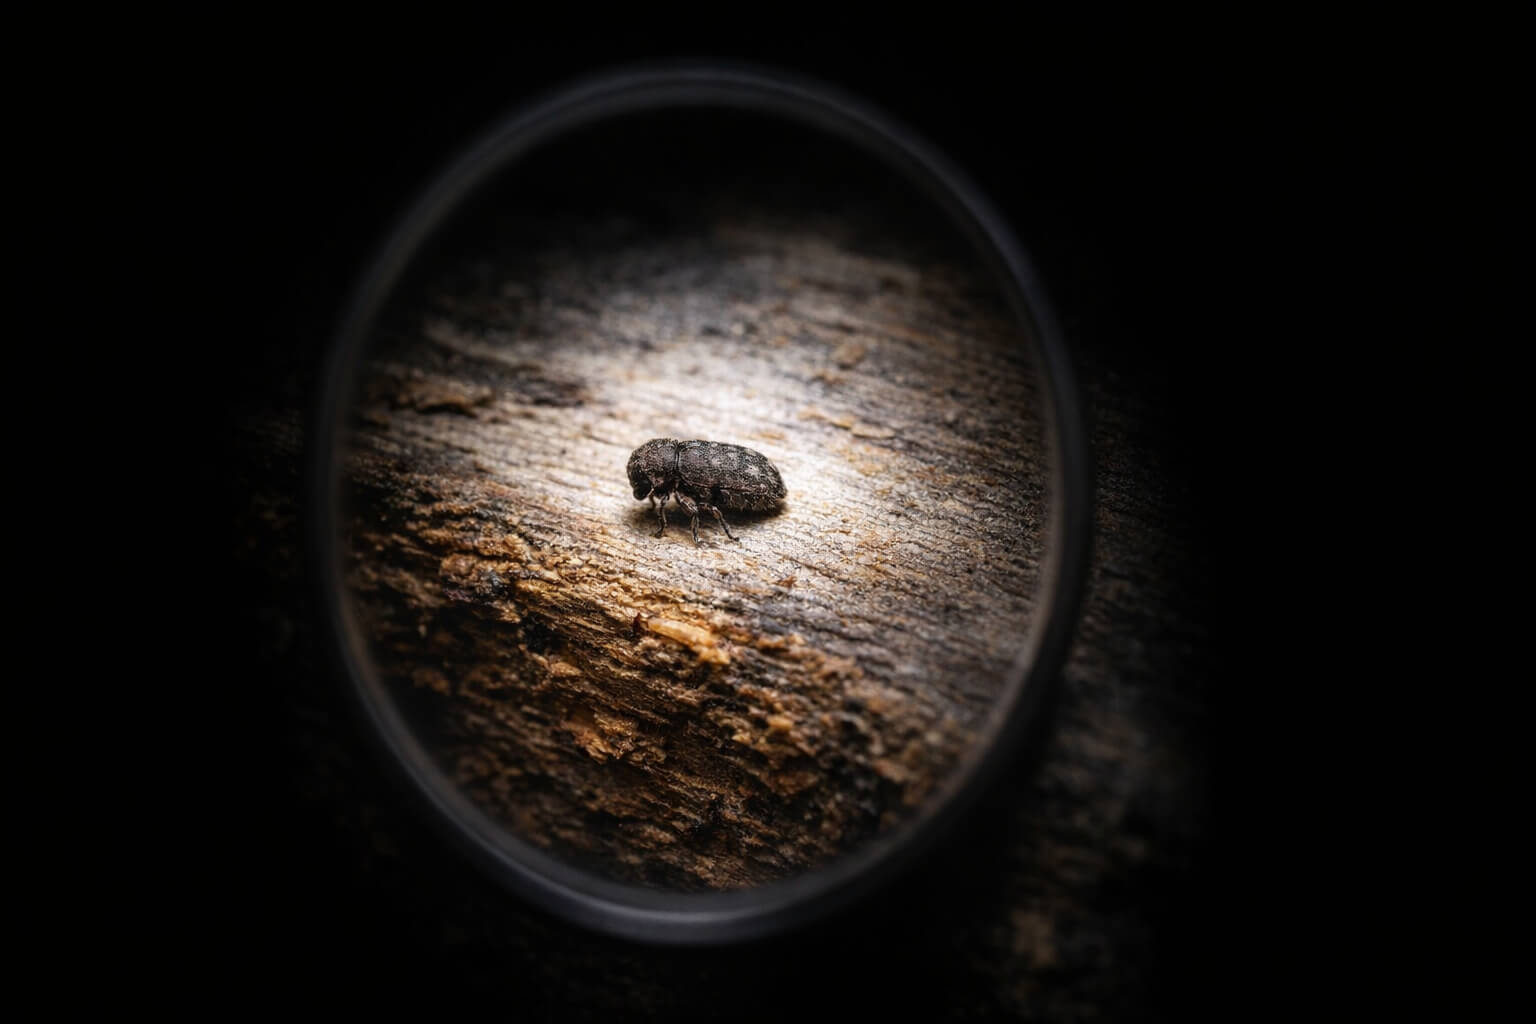
A professional survey adds context, testing, and structural judgement that visual frass identification on its own cannot provide.
A specialist timber survey does not stop at the pile of debris. It connects the frass to moisture readings, timber species, visible decay, structural loading, access constraints, and the distribution of holes across the affected member. That wider reading matters because the same pellet can mean very different things in a decorative oak panel, a non-structural shelf, or a principal roof beam carrying significant load.
In more ambiguous cases, a surveyor may compare the sample with reference material, inspect the timber under magnification in situ, and decide whether the evidence points to one species, mixed infestation, or simply old residue from extinct activity. The aim is to reduce the chance of a wrong call that leads to unnecessary treatment or missed structural risk.
That added value becomes obvious in certain situations: a listed building where invasive opening-up needs caution, a buyer’s survey where beetle evidence may affect negotiations, a loft where several timber species meet, or a beam end built into damp masonry where fungal decay and insect attack may be advancing together. In each case, the frass is only one clue. The survey turns that clue into a reasoned judgement.
That is particularly important in period and listed buildings, where insect attack, fungal decay, and historic fabric all interact. A good survey reads the frass inside the story of the building rather than in isolation from it.
If you need that level of interpretation, Sussex Damp Experts is available for specialist timber and damp surveys across Sussex.
The most useful result of a survey is clarity. You come away knowing not only what the frass probably is, but whether the infestation looks active, whether decay is already present, which moisture defect is sustaining the risk, and how cautious you need to be with the timber in structural or heritage terms.
Frequently Asked Questions
Can paint, varnish or dust contamination make deathwatch frass harder to identify?
Yes. Surface finishes and everyday debris can make deathwatch frass much harder to read, especially if you are collecting it from painted beams, decorated joinery, loft insulation, or the dusty tops of old timbers. Once the sample is mixed, the pellet shape can be disguised or imitated by other fragments.
Different contaminants mislead you in different ways. Paint flakes tend to look angular and brittle, but under poor light they can still be confused with pellet fragments. Plaster and lime dust can coat the sample and make separate particles look chalky and deadened. Insulation fibres catch and hold frass, so the material seems more scattered than it really is. Cobweb debris can bind small particles together and make ordinary dust appear clumped. Soot and general loft grime darken everything, which makes the sample look older and less distinct than it may be. If you sweep all of that into one pile, you are no longer inspecting frass. You are inspecting a rubbish mix.
The best approach is to recollect, not over-interpret. Start with the cleanest possible source point: directly below one suspect hole, on a protected ledge, or on clean white paper placed beneath the timber for a short monitoring period. Use a dry artist’s brush, folded clean card, or a small paper envelope rather than your fingers. Keep each sample separate by exact location. Do not combine debris from different beams, joints, or voids.
A simple decision framework helps. If more than about half the sample is clearly non-frass material, discard it as a diagnostic sample and collect again. If the sample is partly usable, separate the cleanest visible fraction and compare that first. If every sample from the area remains heavily contaminated, or if the pellets are too coated or broken to judge shape with confidence, visual identification becomes unreliable and specialist examination is the sensible next step.
Your practical takeaway is straightforward: do not force certainty out of a dirty sample. A smaller clean sample is worth far more than a large contaminated one.
Does the colour of the frass tell you whether the attack is recent?
Not reliably. Colour can support your judgement, but it is a weak clue on its own and should never outweigh shape, location, reappearance, or the condition of the nearby holes.
A pale, clean-looking deposit in a clean loft can look “fresh”, and sometimes it is. But that same fresh frass can look darker within days if it lands on a soot-stained beam, in a damp void, or on a surface that already carries grime. In older buildings, the background matters enormously. Frass dropping onto white paper may appear light and obvious. The same frass landing on dust-blackened boarding can look old at once. Oak species, surface staining, fungal debris, and simple lighting changes can all shift how the material appears. If you inspect with a warm torch in the evening and then in daylight the next morning, the same sample may seem different.
That is why colour sits low in the evidence hierarchy. Primary evidence of recent activity is not “it looks pale”. Primary evidence is new material appearing after you cleaned the area, sharp-edged holes, repeated deposits in the emergence period, and a source zone that fits the timber and moisture conditions. Secondary evidence includes how clean the frass looks, whether it sits on top of older dust, and whether it appears more distinct than surrounding debris. Colour belongs in that second category. It can support a conclusion, but it cannot carry it.
A useful field test is to clean a small area thoroughly, place a clean sheet or card beneath the suspected source, and recheck it after an interval. If new material appears, that observation is stronger than any colour impression. If nothing reappears, a pale old deposit may be little more than recently dislodged historic frass.
Your takeaway is simple: use colour as a hint, not a verdict. Reappearance, timing, hole condition, and source location matter more every time.
Can one piece of timber contain evidence of more than one beetle species?
Yes. One timber, one roof slope, or one local area can contain evidence from more than one wood-boring beetle species, especially in older buildings that have been damp, repaired, altered, or reused over long periods.
There are several ways this happens. A historic oak beam may carry very old furniture beetle holes from a drier phase of its life, then later become damp enough at one end to support deathwatch beetle. A recycled timber inserted during a past repair may already contain old evidence before it ever entered the building. A roof void floor can also collect frass from different members above, so one mixed handful from the boarding below may contain pelletised material from one source and finer, grittier debris from another. That is where people go wrong. They assume one strange-looking mixed sample must belong to one insect showing “variation”, when in reality they have combined several histories into one pile.
The answer is to keep samples geographically disciplined. Treat each source point as separate until you prove otherwise. Collect from directly below one beam, then another, and label them by exact location. Compare the nearby hole sizes, the timber type, the moisture condition, and whether one area sits against damp masonry while another remains dry. If two adjacent timbers behave differently, do not average the evidence together. Read them separately.
This matters because wrong grouping leads to wrong conclusions. A mixed handful from a void floor can make a deathwatch problem look like common furniture beetle, or vice versa. That can then drive the wrong treatment decision or make a localised issue seem widespread. In listed or heritage buildings, that kind of confusion can have expensive consequences because it encourages unnecessary opening-up or over-treatment.
Your takeaway is clear: if two samples look different, believe the difference first. Keep them separate, map them back to their source, and resist the urge to turn a mixed debris pile into one neat diagnosis.
Should you keep a sample if you want a specialist opinion?
Yes. A clean, well-kept sample can be genuinely useful to a surveyor or timber specialist, provided you collect it properly and preserve the context rather than just the particles.
You do not need a large quantity. A small amount from directly beneath the suspect source is usually enough if it is clean and location-specific. Use a dry paper packet, folded card, or a small rigid dry container. Paper is often best because it reduces condensation risk. If you use a container, make sure it is clean and dry. Avoid dropping damp samples into sealed plastic bags, because trapped moisture can soften debris, promote mould, and blur the very features you want examined. If there are a few tiny timber fragments mixed in, that can sometimes help by showing the character of the surrounding material, but do not gouge the timber to collect them.
Labelling is as important as the sample itself. Write down the date, exact location, room or roof area, the surface it was collected from, whether it came from below visible holes, and whether the nearby timber seemed damp, decayed, painted, or embedded in masonry. If you collect more than one sample, number them and keep the notes with them. Samples remain useful for a long time if they are kept dry and separate, but their value drops sharply if the location history is lost.
A specialist does more with a sample than simply “look at dust”. They can compare particle form, check consistency, assess whether contamination is skewing the appearance, and relate the sample to the timber context you recorded. A photograph helps, but a photo cannot show how the particles move, separate, crush, or sort under handling. It also cannot always distinguish a true pellet from a flat paint flake or crumbly plaster grain.
Your takeaway is to preserve evidence deliberately. Keep a small clean sample, label it properly, pair it with photographs and notes, and you give a specialist far more to work with than a single image ever could.

